
Support
Create and customize a Subscription Form in a few seconds
Last update: 06-03-2025Help grow your contact list by adding a subscription form on your website or a link to the form on your social media. It’s quick, easy and you don’t need to know HTML!
In addition, with Acrelia you can adapt the subscription, unsubscribe and data update forms to your corporate image using your colours, customising the titles and texts, as well as the communications related to them.
1. Create the fields that you want to include in the form
2. Create the list to which the form will be associated
3. Generate and configure the form
3.1 General configuration
3.1.1 Personalisation
3.1.2 Language
3.1.3 Logo
3.1.4 Colours
3.2 GDPR
3.3 Subscription
3.4 Updating
3.5 Unsubscribe
3.6 Confirmation email
3.7 Web version
3.8 Generate Form
1. Create the fields that you want to include in the form.
The first step to create a form is to determine which fields you want to include in it, that is, the information you want to save about your contacts. Some of these fields, the most common ones, are already created by default in Acrelia (name, city, company...), however, if you have to create one from scratch, we explain how to do it below.
Go to "Contacts - Custom fields" and add the name of the field. Next, choose the correct field type. As a rule, choose the text option for free data entry options and drop-down or option lists when you want to delimit the possible values of the field.
Pay special attention to whether the field must be filled in and whether it should be visible to users on the form.
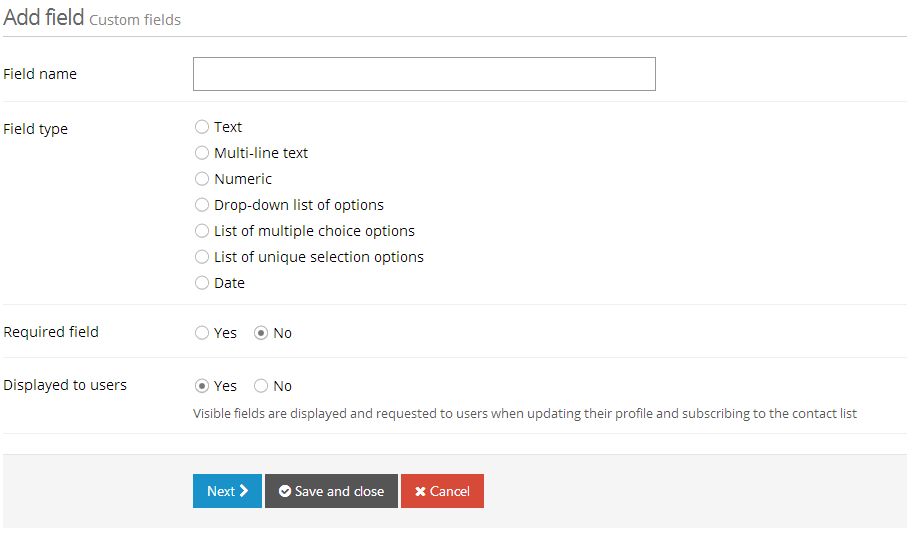
Finally, in the next screen you will have to determine if you want to add a default value in that field, as well as the minimum and maximum size of the field.
2. Create the list to which the form will be associated.
Each form is associated with a specific contact list. This way, when a user subscribes through your form, he will automatically appear in the Acrelia contact list.
If you don't have a contact list or you want to create a new one, we explain you how to do it. Go to "Contacts - Create new list". Indicate a name for the list and inform who is the owner and the reply email.
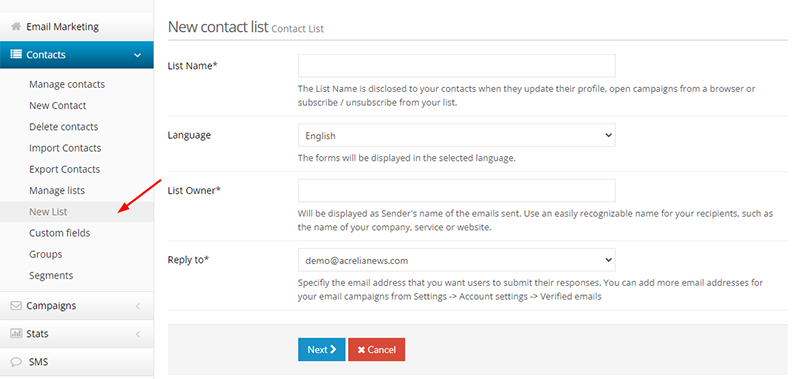
Next, to comply with anti-spam laws, you need to fill in information about your company.
Finally, choose the information of your contacts that you want to save in this list. To do it, move the "custom fields" you have previously created and configured from "Available fields" to "Selected fields" by clicking on the fields.
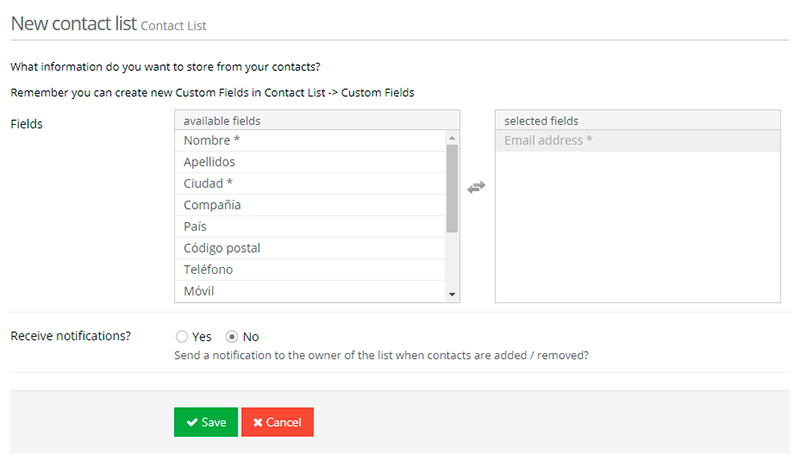
You can also check the option to receive a notification every time a contact is added or removed from the list.
3. Generate and configure the form
Now we can start creating, configuring and customising the different forms and their communications. To do this, go to "Resources" - "Forms" and select the corresponding contact list. Click on "Next". Next, you will see different tabs which are detailed below.
3.1 General configuration
In this first tab, you can determine if you want your forms to have the format and texts predetermined by Acrelia or if you want to be able to customise them. In the second case, you can configure different options such as colours or languages.
The first step that you must take into account is the option to Activate the customisation of the forms. If you tick YES, your forms will have the colours, images and texts that you configure in the different sections that we will show you later and that are related with the subscription, unsubscribe and data update forms and their communications. If you tick the NO option, even if you configure the various customisation options that you will find, these will not be applied and the default texts and options will be maintained.

In this section, you can select the language in which you want your forms to appear (Spanish, Catalan, English or French). For example, the language in which the list of reasons why a subscriber wants to unsubscribe will appear, or the language of the reCAPTCHA.

Next, you can import your company or organisation logo to be displayed at the top of the different forms. The image must be in JPG, PNG or GIF format and not exceed 200 kb.

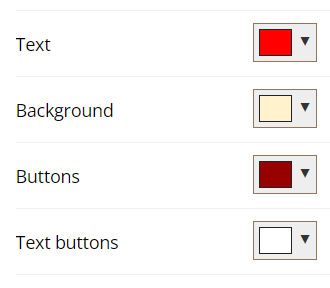
Finally, you can select the colour in which you want the background of the forms, buttons and button texts to be displayed.
3.2 GDPR
It is important to add the GDPR opt-in box on your online form to store the consent of your new subscribers. When they tick this option and subscribe, the IP, date and time of acceptance is saved.
To activate the checkbox tick Yes in the "GDPR List" section of the "GDPR" tab to activate the consent request on your form. You will be able to modify the texts to inform your subscribers of what you think is appropriate. Once you have made your changes, click on "Save".

3.3 Subscription
In this tab, you will have available the URL of your form and you will be able to customise the title, description and footer of your subscription form.
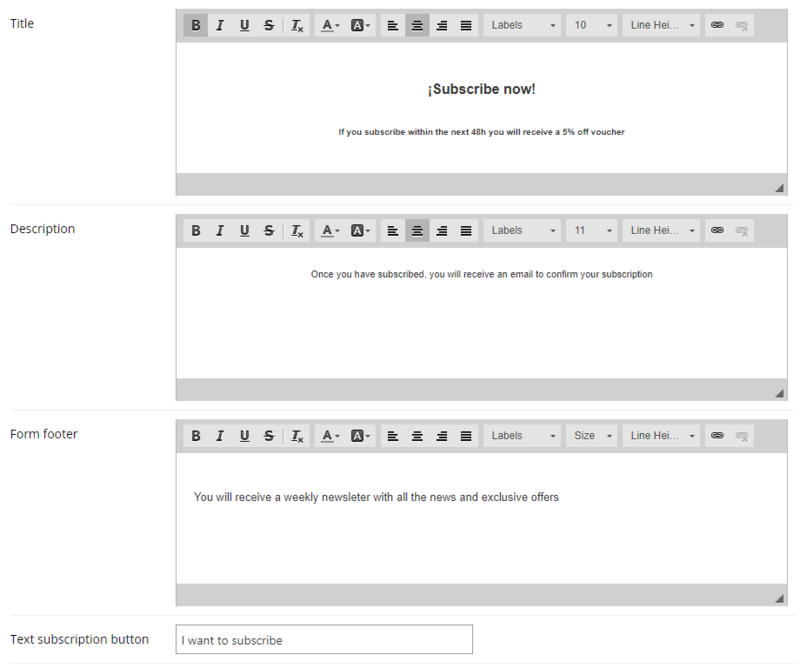
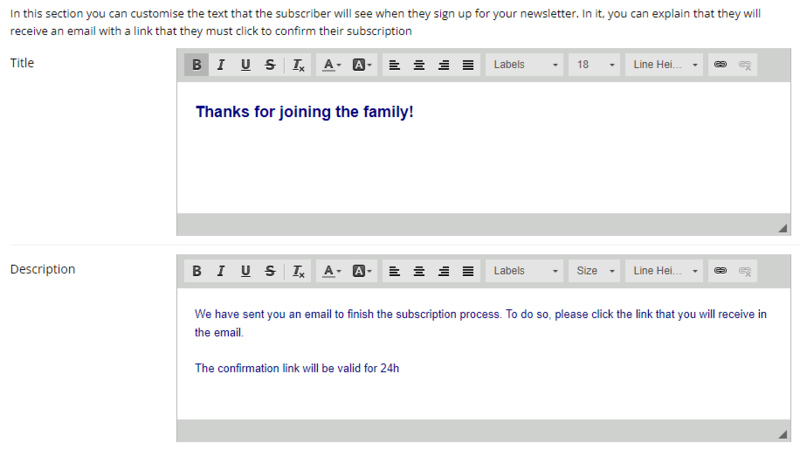
You will also be able to configure the messages that appear once a subscriber has signed up to your newsletter and the messages that appear once they have confirmed their subscription.
3.4 Updating
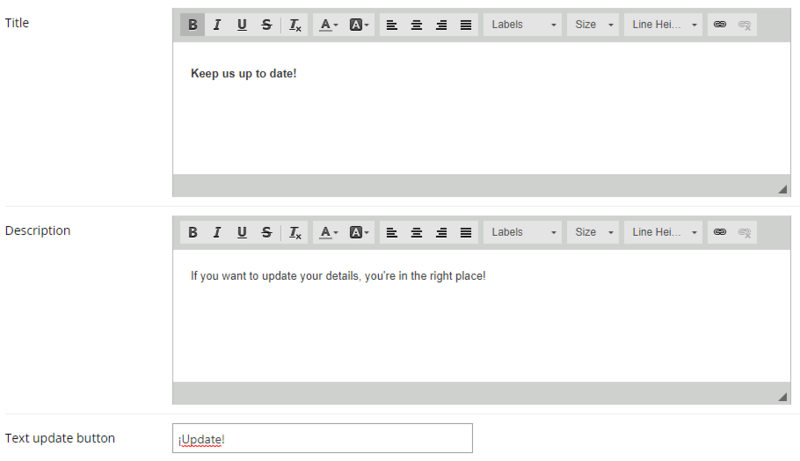
In the footer of your email newsletters, in addition to an unsubscribe link, there is a link that leads to a form for your contacts to update the information associated with their contact email (name, surname, interests, age ...). In this section, you can customise the texts that appear on this form.
3.5 Unsubscribe
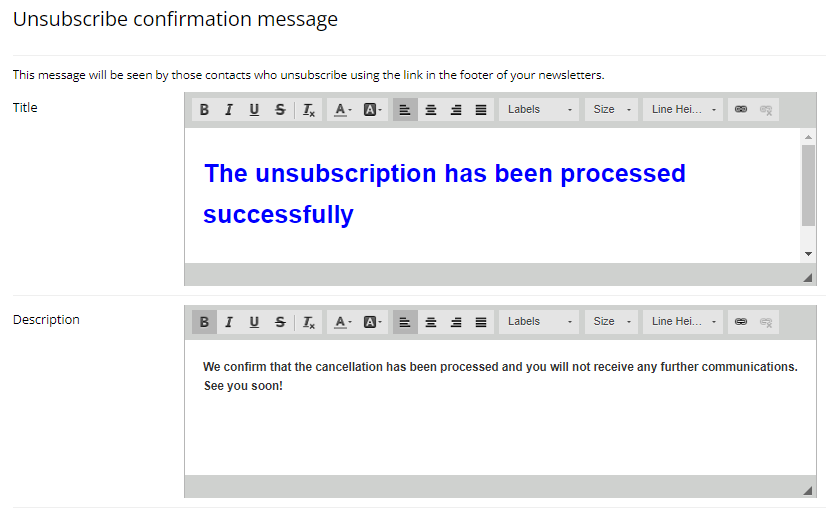
In the "Unsubscribe" tab, as in the case of the update and subscription form, you can customise the texts of the unsubscribe form included in the footer of your newsletters. You also have the URL of the form so that you can view it once you have made the changes you want.
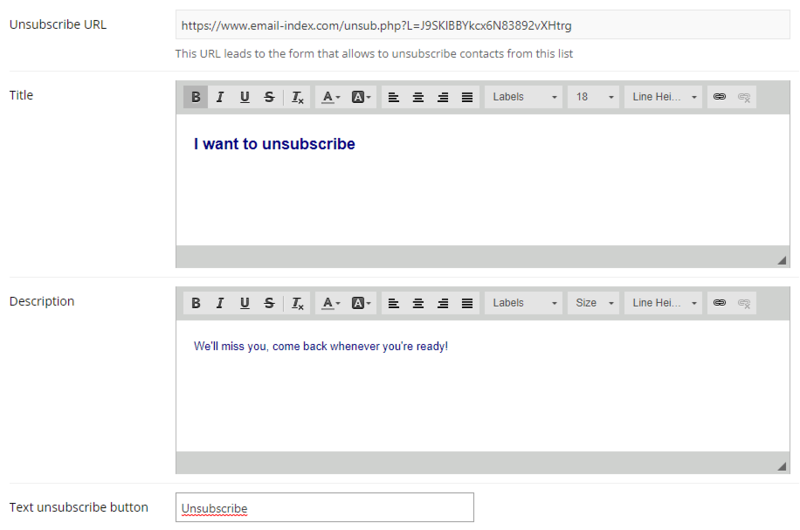
You will also be able to personalize the message that appears to the contact to confirm that their unsubscription has been successful.
3.6 Confirmation email
In the "Confirmation email" tab you can customize the texts of the email that your subscriber will receive when filling in your form. Once the subscriber clicks on the link in the email, they will be able to start receiving your newsletters. Until they do so, the contact will remain as "pending" on your list.

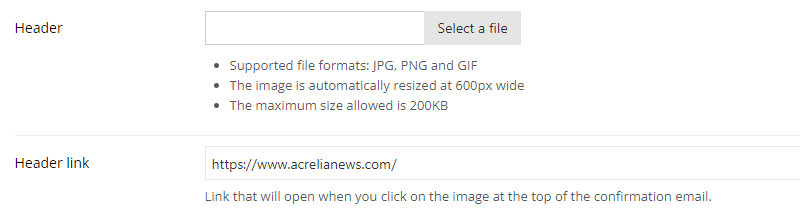
You can also customise the banner you want to display in the header of the email and the URL to which it is linked.
In addition, to see what the confirmation email will look like, you can send yourself a preview by clicking on "Send preview by email".

3.7 Web version
In the "Web version" tab you can check the list of campaigns and the RSS file of the newsletters that have been sent to this list so far.

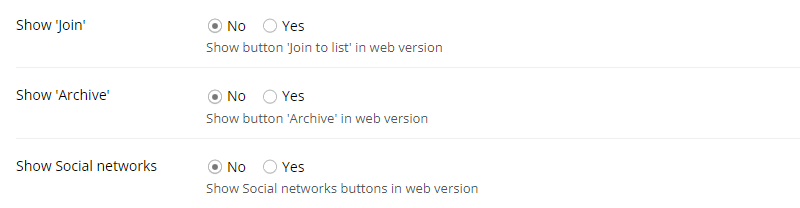
In this section, you can also indicate whether you want to display a subscription button, the option to access the newsletter history and access to different social networks in the web version of your newsletters.
3.8 Generate Form
Finally, pay attention to the preview available on the right side of the screen where you can check how your form is displayed as you edit the parameters:
- Choose whether to display a Title or not, and write the title that best suits your website.
- Write the text of the Validation Button: "Subscribe", "Submit", "Confirm", etc., are some possible options.
- Choose whether you want to display only the required fields or all fields.
- Choose whether you want a form with or without styles, depending on what best suits your web design.
- Choose whether you want to show or hide the mention "* required fields".
- Indicate whether you want to use field validation or not. If you check "Yes", Acrelia News will check that the data entered by the user meets the minimum requirements and/or length criteria previously defined.
- Finally, if you want to insert a link to the "Newsletter History" or not.
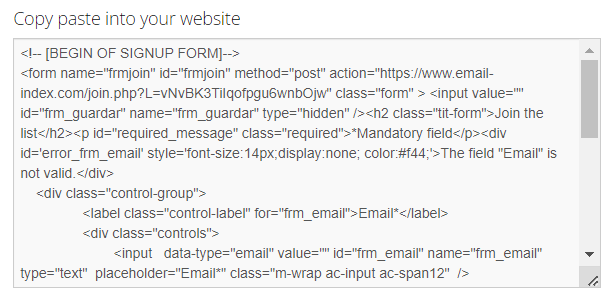
Once you have configured the form you can copy the HTML code and paste it into your website. You can do it yourself if you have HTML knowledge, otherwise simply send the code to your webmaster or web design agency. With this method, the form will be integrated into your website. You will find the code at the bottom right of the "Copy paste into your website" screen:
Schedule a free demo
Our experts will advise you on the best Email Marketing solution for your business.
REQUEST DEMO